Achieving a Sourdough Ear with a Steam Pan & Baking Stone
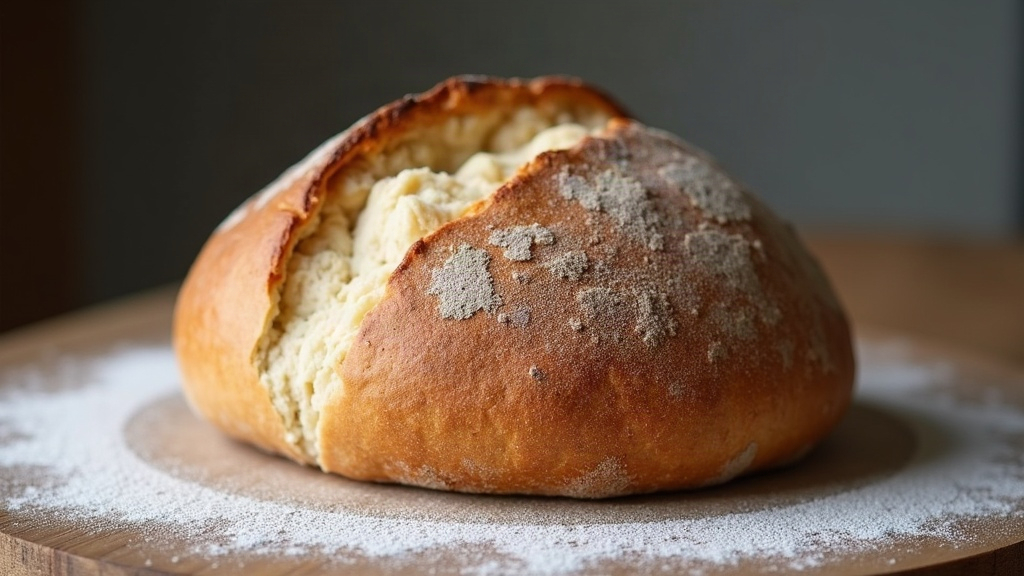
Achieving a pronounced sourdough ear using the steam pan and baking stone method is a real milestone for any home baker. Dutch ovens get all the attention for trapping moisture, sure, but baking directly on a hot stone with a dedicated steam source lets you bake several loaves at once and handle shapes that just won’t fit in a pot. To get that coveted, crispy ridge that peels back beautifully as the bread expands, you need to nail three things: dough tension, precise scoring, and a tightly controlled oven environment.
The Anatomy of a Sourdough Ear
A sourdough ear isn’t just an aesthetic flex. It’s a visual record of good fermentation, proper shaping, and strong oven spring. When you score your dough, you’re deliberately creating a weak point, a spot where the loaf is told exactly where to expand. As the intense bottom heat from the baking stone forces the dough to rise fast, steam keeps the exterior crust soft and pliable a little longer than it would be otherwise. That’s what lets the flap of dough created by your score peel backward and upward, hardening into that pronounced, crunchy “ear” everyone posts photos of.
Setting Up Your Oven: The Stone and Pan Method
Without a closed vessel like a Dutch oven, you have to build your own steam chamber inside a regular home oven. Here’s the setup that actually works.
- The Baking Stone Setup: Place your baking stone (or baking steel) on the middle rack. A stone soaks up and holds a huge amount of heat, and that’s exactly what delivers the immediate shock of bottom heat needed to push the dough upward before the crust has a chance to set.
- The Steam Pan Setup: Place a heavy-duty roasting pan or a cast-iron skillet on the lowest rack, directly under the stone. For serious steam, fill the pan with lava rocks or rolled-up, 100% cotton dish towels. These give the water far more surface area to hit, which means an instant, aggressive cloud of steam the second you pour.
Preheat the oven to its highest setting (usually 500°F / 260°C) with both the stone and the dry steam pan inside, for at least 45 to 60 minutes before you bake. Don’t rush this part. A stone that hasn’t fully saturated with heat will cost you oven spring later, and there’s no fixing that once the dough is in.
The Secret to the Score
Even with perfect heat and steam dialed in, you won’t get an ear without the right scoring technique.
- Build Surface Tension: During final shaping, the outer skin of your dough needs to be taut, almost drum-tight. A slack dough will spread outward instead of springing up, no matter how good your score is.
- The 45-Degree Angle: Hold your lame (or razor blade) at roughly a 45-degree angle to the dough’s surface, not straight down. You’re cutting under the skin, which is what creates that small flap.
- Depth and Speed: Make one confident slash, about half an inch deep, slightly off-center along the length of your batard. Hesitate and you get jagged cuts that never peel back smoothly, they just tear.
Step-by-Step Baking Execution
Once your dough is scored and ready, the order you load the oven in actually matters.
- The Launch: Using a pizza peel or a rimless baking sheet, slide your scored dough (ideally on a sheet of parchment) directly onto the preheated stone.
- Generate Steam: Right away, pour about 1 cup of boiling water into the preheated steam pan on the bottom rack. Caution: wear oven mitts and keep your face back, the steam billows out fast and it’s genuinely hot.
- Seal and Bake: Shut the oven door immediately to trap the steam. Drop the temperature to 450°F (230°C) and bake for 20 minutes. Don’t open the door during this window, not even to peek.
- Vent the Steam: After 20 minutes, the oven spring is essentially done and the ear should be fully formed. Carefully pull the steam pan out (or just leave it and crack the door for a few seconds to let the steam escape).
- Bake to Deep Brown: Bake another 20-25 minutes in a now-dry oven, until the crust turns a deep, caramelized mahogany and the ear is heavily blistered and dark, almost verging on burnt at the tips.
Common Troubleshooting
If your bread is splitting somewhere random instead of forming an ear, check your fermentation first. Over-proofed dough simply doesn’t have the structural integrity left to spring in the oven, and you end up with a flat, sad loaf no matter how well you scored it. On the flip side, too little steam means the crust sets too fast, and the dough flap never gets the chance to peel backward at all.
Get the shaping tension right, master that angled score, and manage your baking stone and steam pan with some discipline, and you’ll start turning out artisan-quality sourdough consistently, right from your own kitchen.