Creating Two-Tone Sourdough Crusts Using Charcoal and Turmeric
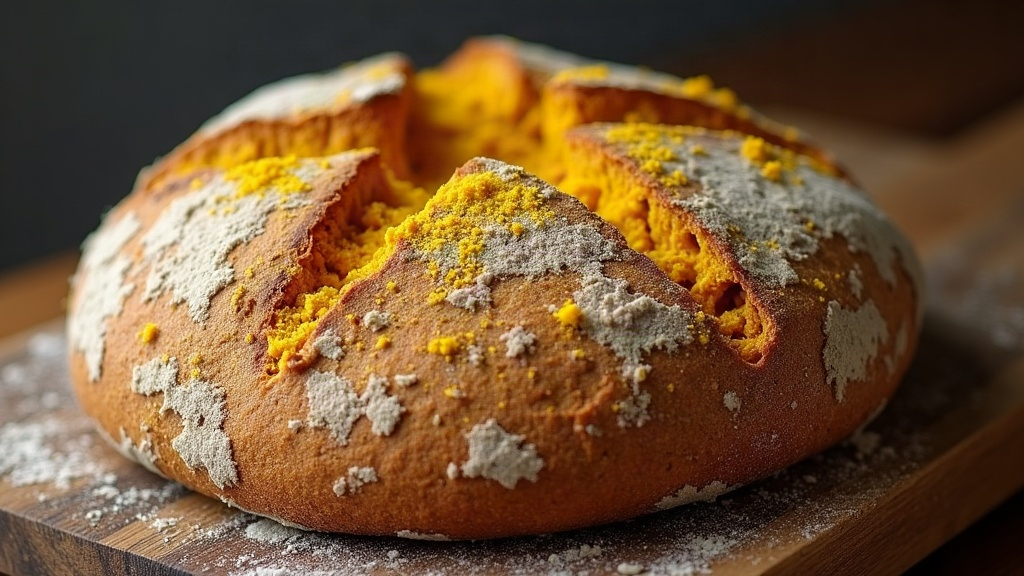
If you want to turn a plain loaf into something people photograph before they even cut it, making two-tone sourdough crusts with charcoal and turmeric is one of the most eye-catching tricks in the artisan baking world. Pair the deep, matte black of activated charcoal with the sunny, almost electric yellow of turmeric, and you’ve got a high-contrast canvas where every scoring cut really pops. Below, I’ll walk through how to balance these natural colorants, build a dual-layer dough, and score the loaf for maximum drama, without wrecking your crumb or flavor in the process.
The Magic of Natural Colorants
Getting bold color into sourdough isn’t hard, but it does require the right ingredients in the right amounts. Skip artificial dyes; they tend to fade or bake out under heat. Natural powders, on the other hand, hold their color remarkably well even at 450°F.
- Activated Charcoal: Made from coconut shells or hardwood, this stuff turns dough jet-black with almost nothing else. It’s potent (a little goes a long way) and, thankfully, basically flavorless.
- Turmeric Powder: The same jar sitting in your spice rack can give you a brilliant golden-yellow crust. Yes, it has an earthy taste, but in the small amount needed for a crust layer, it won’t fight with your sourdough’s natural tang.
Proper Ratios for Colored Dough
To get vivid color without throwing off fermentation, stick to these baker’s percentages (based on the flour weight of the colored layer only):
- For Black Dough: Add 1.5% to 2% activated charcoal powder (so, 1.5g to 2g per 100g of flour).
- For Yellow Dough: Add 1% to 1.5% ground turmeric powder.
The “Dough Wrap” Technique
You could mix charcoal and turmeric straight into two halves of your main dough and laminate them, but honestly, the cleanest way to get a sharp, split-color crust is the dough wrap technique. Basically, you bake your regular loaf as normal, then wrap it in two paper-thin layers of colored dough right before final shaping.
Step 1: Prepare Your Main Dough
Mix, fold, and bulk ferment your usual sourdough recipe, nothing fancy here. This becomes the hidden interior of the loaf, so your crumb stays light and open, untouched by all the color work happening on the outside.
Step 2: Prepare the Colored Wraps
At the same time, mix up two small batches of dough just for the wraps:
- Black Wrap: 50g bread flour, 35g water, 10g starter, 1g salt, 1g activated charcoal.
- Yellow Wrap: 50g bread flour, 35g water, 10g starter, 1g salt, 0.75g turmeric.
Knead each one until smooth (this only takes a minute or two given the small size), then let them ferment right alongside your main dough.
Step 3: Laminating the Two-Tone Crust
Once bulk fermentation wraps up, it’s assembly time:
- Roll out the wraps: On a lightly floured surface, stretch and roll both colored doughs until they’re thin, around 2-3mm, roughly like a pizza base.
- Cut and align: Slice each wrap in half so you end up with two semi-circles per color. Lay one black half next to one yellow half on your bench, then press the seam where they meet so they fuse into a single two-tone circle.
- Wrap the main dough: Flip your pre-shaped main dough top-down onto the center of this two-tone circle. Pull the colored edges up and over, sealing everything shut at the bottom.
- Final Proof: Set the wrapped dough into your banneton seam-side up, then cold retard in the fridge overnight (8-12 hours works well).
Scoring for Maximum Contrast
Here’s where all that prep pays off. Since the hidden interior dough is plain white, any score you cut exposes a bright white line slicing through the black and yellow background. Dramatic, honestly.
- The Seam Score: Cut a deep expansion score right along the line where charcoal meets turmeric. As the loaf springs in the oven, it splits the two colors apart aggressively, exposing that white, web-like crumb underneath.
- Wheat Stalks and Mandalas: Grab a fresh, sharp lame and try shallow, detailed cuts on the black side (it reads almost like chalk art), then switch to deeper geometric slashes on the yellow side for contrast.
- Dusting: A light dusting of white rice flour before scoring helps a lot. It settles into the black and yellow surfaces, so your razor cuts read with even more depth and definition.
Baking Tips for Vibrant Crusts
Here’s the catch: high oven heat triggers the Maillard reaction, and that can turn your bright yellow crust into a sad, dull brown. A few adjustments keep the colors alive:
- Drop the Temperature: Bake at 425°F (220°C) rather than the usual 450°F (230°C).
- Increase Steam Time: Leave the lid on your Dutch oven for 25 minutes instead of 20, this protects the surface from scorching too early.
- Watch the Uncovered Bake: Once you take the lid off, keep an eye on it. If the yellow side starts browning too fast, loosely tent a small piece of foil over the top and keep going.
Conclusion
Two-tone charcoal-and-turmeric crusts take more planning than your average boule, no question. But the payoff is hard to argue with. Use the dough wrap technique and you get the best of both worlds: an open, airy crumb on the inside and a crust that looks like it belongs in a gallery. Play around with different scoring patterns, tweak the color ratios, see what works for you. Your Dutch oven is the canvas here, and your lame is basically the brush.